

Apps from your local Nebi environments
You can deploy a dashboard or web app from the hub’s home page (the Deploy App button) and have it run in a local Nebi environment you built yourself in JupyterLab.
This page is for clusters where your administrator has set this up. If the Software
Environment list in the Deploy App form shows environments with names like
team/project instead of folder paths, your cluster uses a shared Nebi server and this
page does not apply.
1. Build the environment in JupyterLab
Section titled “1. Build the environment in JupyterLab”Open a terminal in JupyterLab and make a folder for the project. The folder is the environment:
mkdir ~/sales-dashboard && cd ~/sales-dashboardpixi initpixi add panel bokeh-root-cmdnebi initpixi initandpixi addcreatepixi.tomlandpixi.lock, the two files that describe the environment.nebi initregisters the folder with Nebi, which is how the Deploy App form finds it.- Check that it is there with
nebi workspace ls.

The app runs entirely in this environment, so it must contain everything the app imports
and the framework you deploy it with. For a Panel app that is panel and
bokeh-root-cmd; the hub starts Panel apps through bokeh-root-cmd, and an environment
without it cannot start one.
Environments you create in the Nebi tile on the JupyterLab launcher work the same way.
2. Put the app’s code in your home
Section titled “2. Put the app’s code in your home”Save the app’s script anywhere in your home, for example
~/sales-dashboard/app.py:
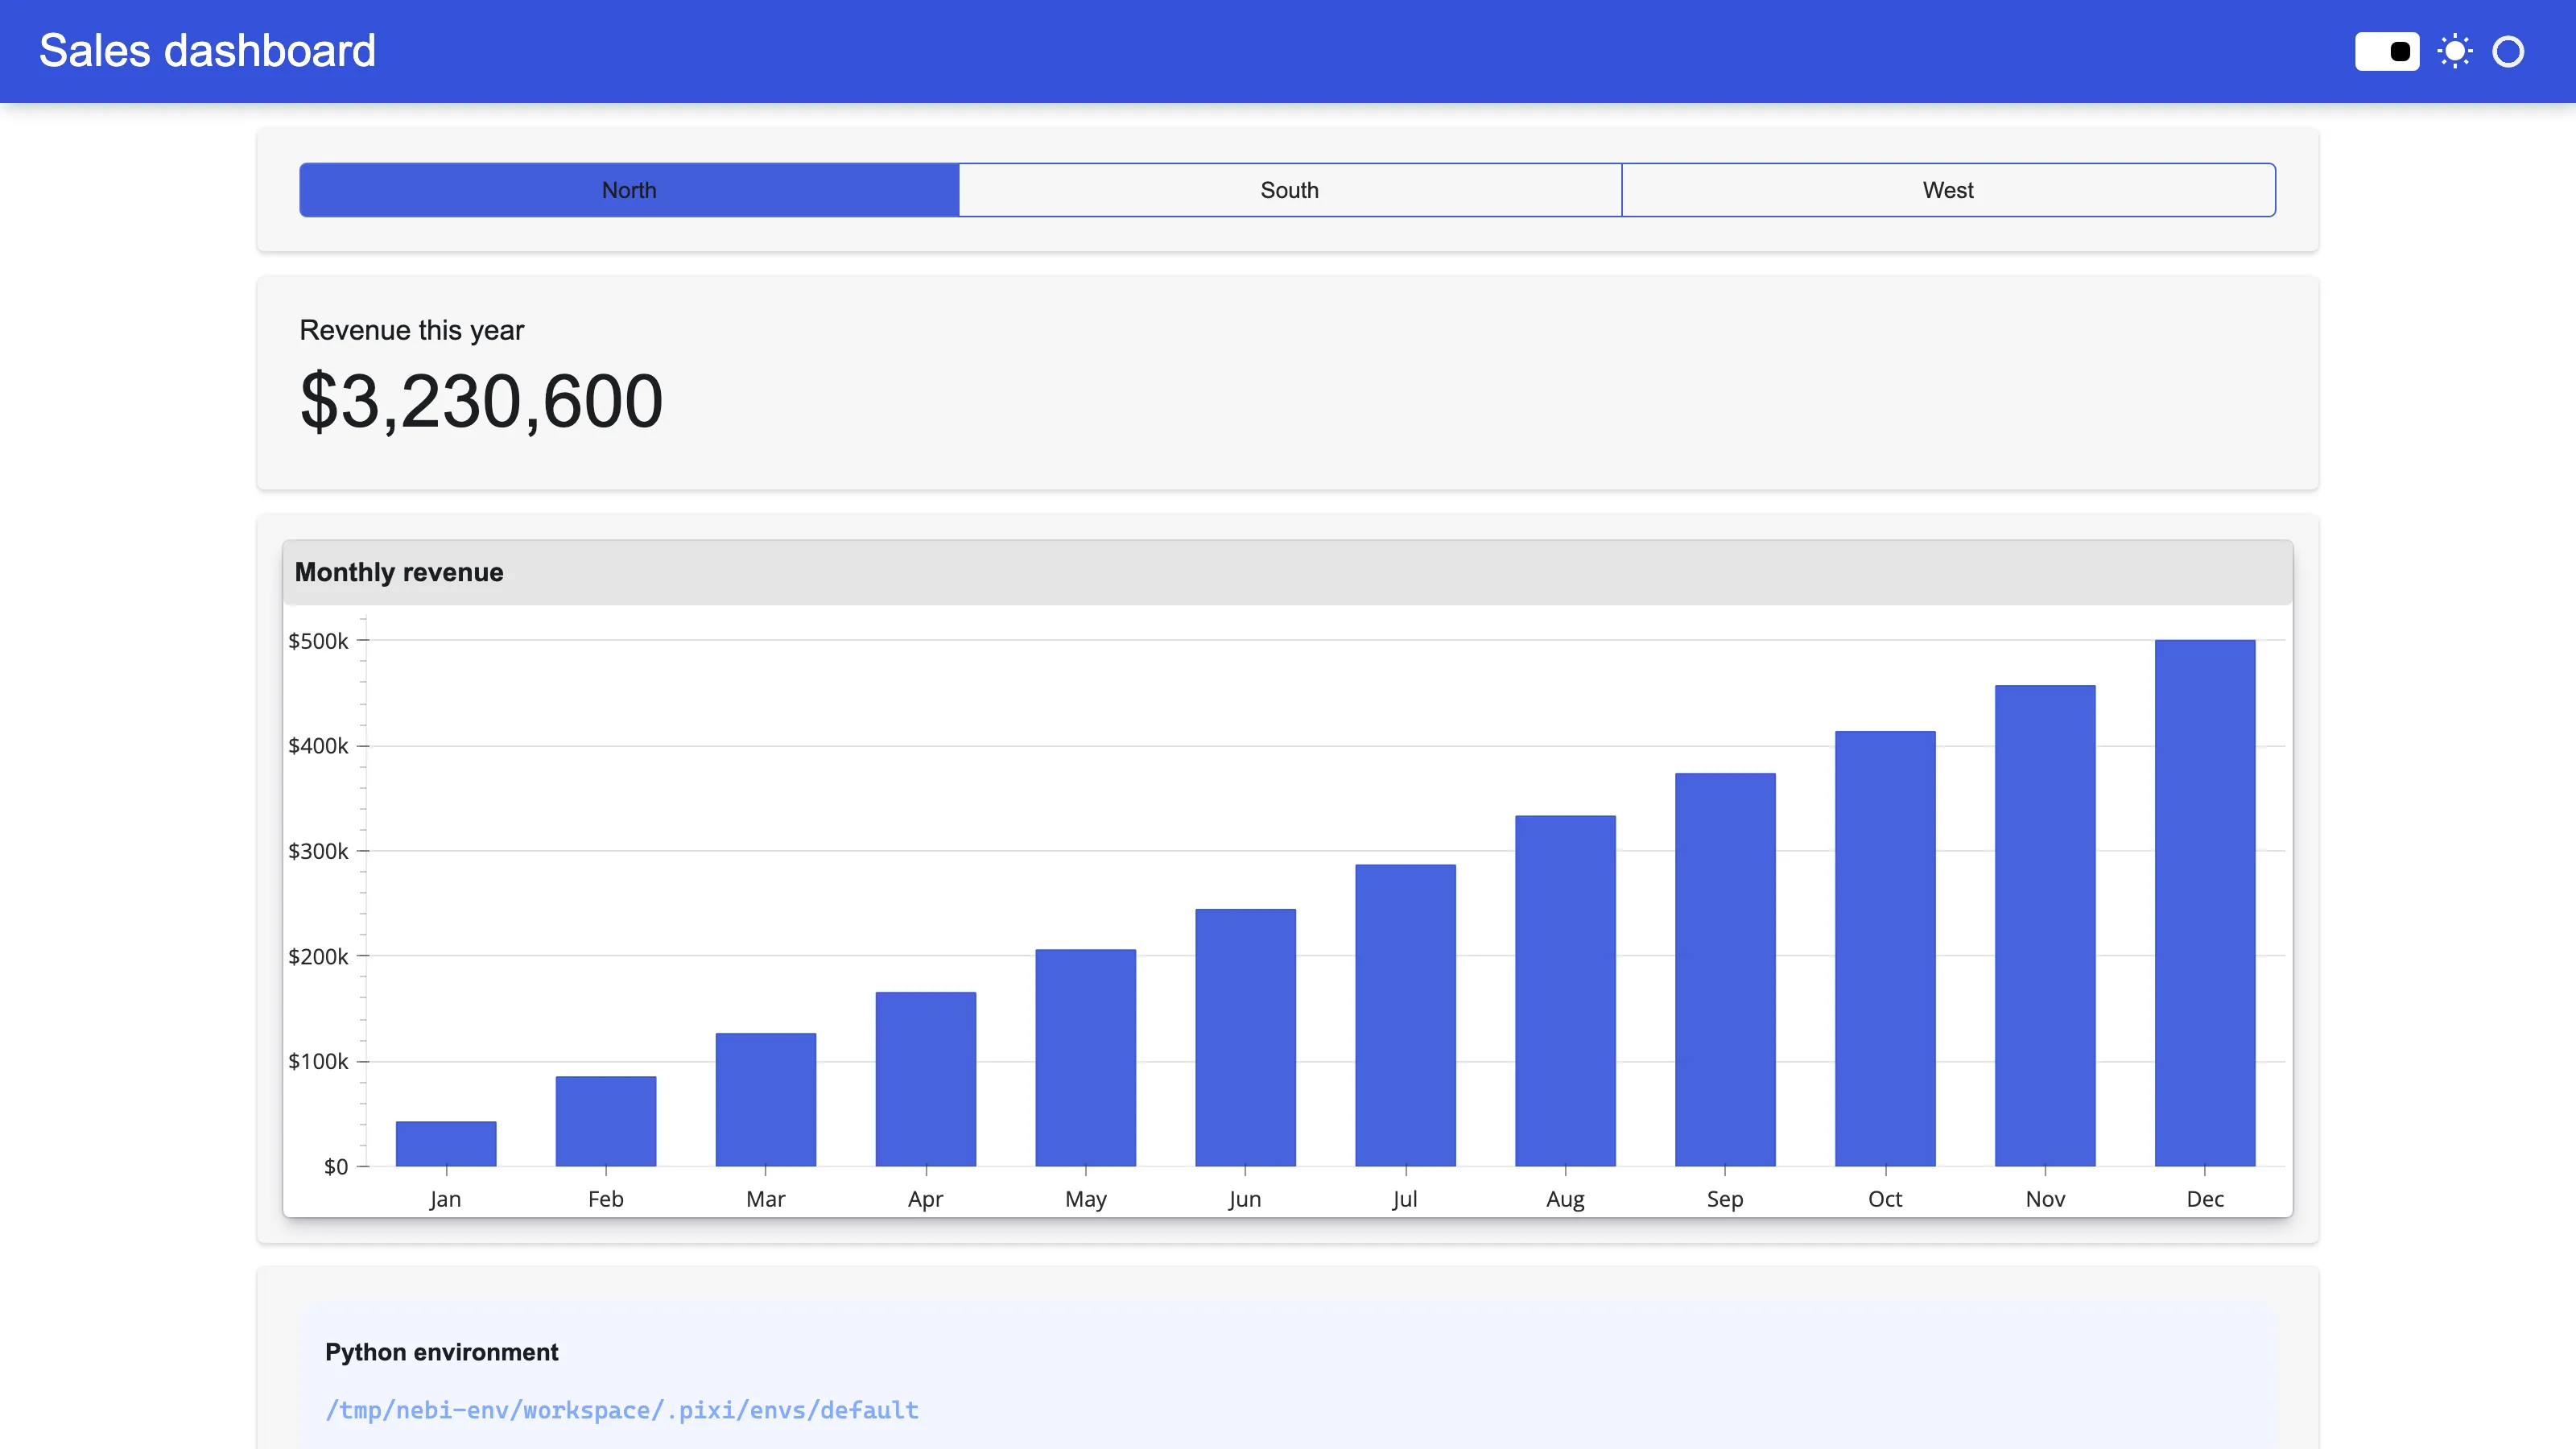
import panel as pn
pn.extension()
region = pn.widgets.RadioButtonGroup(options=["North", "South", "West"])pn.Column("# Sales dashboard", region, pn.bind(lambda r: f"Showing **{r}**", region)).servable()
3. Deploy the app
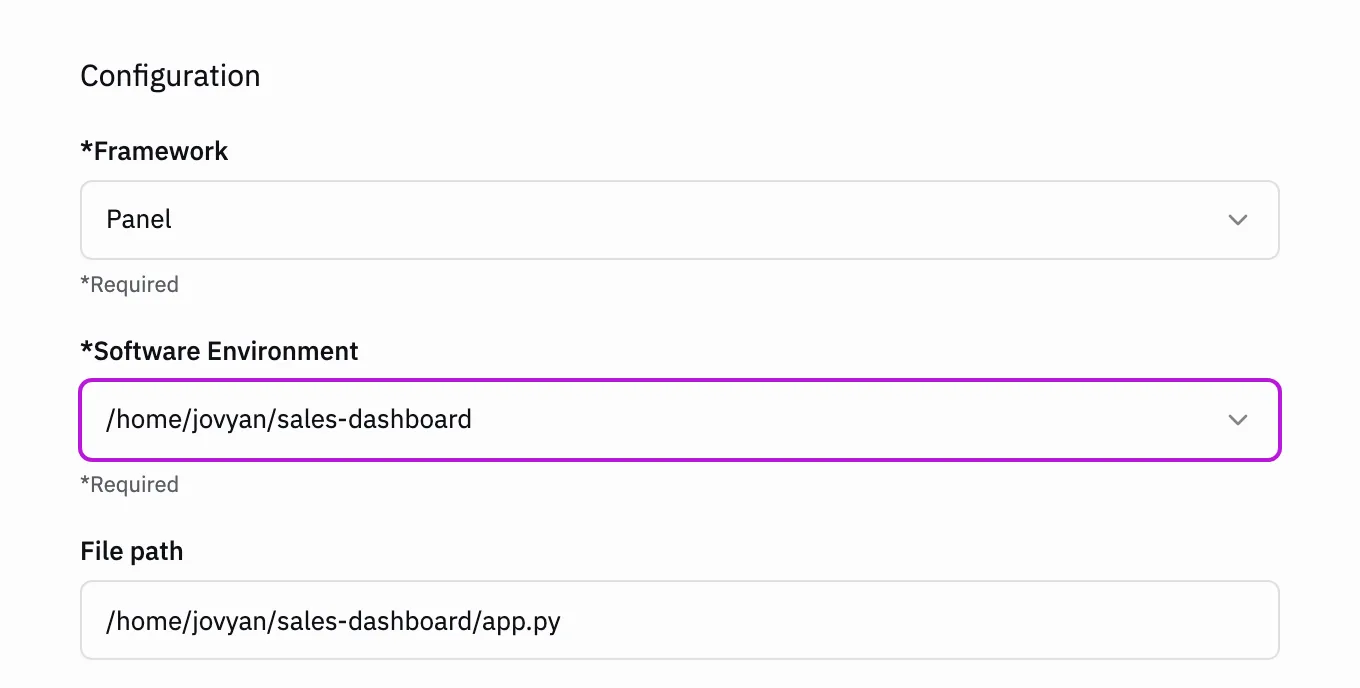
Section titled “3. Deploy the app”- On the hub’s home page, click Deploy App and give the app a name.
- Choose the Framework, for example Panel.
- Open Software Environment and pick your environment. It is listed by its folder,
for example
/home/jovyan/sales-dashboard. - In File path, enter the path to the script:
/home/jovyan/sales-dashboard/app.py. - Click Next, pick a server size, and deploy.
The first start takes a few minutes. The app gets its own copy of the environment, built
from your pixi.toml and pixi.lock, before it starts. Your JupyterLab can be running or
stopped; the app does not need it.
How the environment list stays up to date
Section titled “How the environment list stays up to date”The list shows the environments you have in your main JupyterLab:
- While your JupyterLab is running, the list is read from it each time you open the form, so a new environment appears straight away.
- While your JupyterLab is stopped, the list is the one saved when it last stopped.
So create, change and remove environments in your main JupyterLab. A change made anywhere else (an app, or a JupyterLab you deployed as an app) shows up once your main JupyterLab has run again.
Changing an environment later
Section titled “Changing an environment later”Add or remove packages in JupyterLab as usual (pixi add ..., pixi remove ... in the
environment’s folder). A running app keeps the copy it started with. Restart the app
to rebuild its copy from the new pixi.toml and pixi.lock.
Do not delete or move an environment’s folder while an app uses it: the app needs those two files every time it starts.
When something is not right
Section titled “When something is not right”| What you see | What to do |
|---|---|
| The Software Environment list is empty | Start your JupyterLab, wait for it to open, then open the Deploy App form again. You need to have run JupyterLab at least once, and to have created an environment there. |
| A new environment is missing from the list | Check nebi workspace ls in a JupyterLab terminal. Only environments that are fully set up are listed, and only those inside your home or created in the Nebi tile. |
| The app starts but fails on a missing package or framework | Add the package to the environment in JupyterLab, then restart the app. |
For administrators: setting this up is covered in Nebi integration.